A small kitchen doesn’t need more space—it needs fewer decisions. The goal is simple: everything should have a “home” that matches how you move while cooking. When your drawers and cabinets are zoned correctly, you stop walking back and forth and you stop buying duplicates because you “can’t find the tongs.”
Here’s the system that actually works in real life, especially if your counter space is limited.
The 3 Rules That Make a Small Kitchen Feel Bigger
Rule 1: Store by workflow, not by category
Don’t store “all tools together” or “all food together.” Store based on what you do:
- Prep zone (cutting, mixing, measuring)
- Cooking zone (stove tools, oils, spices)
- Coffee/snack zone
- Cleaning zone
Rule 2: “Prime real estate” goes to daily-use items
The best spots (top drawers, eye-level shelves, next to stove) should hold what you use every day.
Rule 3: Vertical space is your best friend
In small kitchens, the win is almost always:
- stacking
- shelf risers
- door-mounted storage
- drawer dividers
Not buying more “stuff.”
Step 1: Do a 10-Minute Reset (Before You Organize)
This prevents you from organizing clutter into prettier clutter.
- Clear one section at a time (one drawer, one cabinet).
- Make 3 piles: Daily / Weekly / Rarely.
- Toss broken, warped, or duplicate items you truly don’t use.
Quick honesty test: If you forgot it existed, it doesn’t deserve the best storage spot.
Drawer Zones (The “Works Every Time” Setup)
Drawer Zone A: “Prep Drawer” (closest to your main counter)
This drawer should be your prep cockpit:
- Chef knife (with sheath) or knife block alternative
- Cutting board(s) if they fit vertically nearby
- Peeler, can opener, kitchen shears
- Measuring spoons/cups
- Small whisk, spatula, tongs
Tip: Put the items you grab first (peeler, shears, measuring) toward the front.
Drawer Zone B: “Cooking Tools Drawer” (closest to stove)
This is where the stirring and flipping happens:
- Spatulas/turners
- Wooden spoon / silicone spoon
- Ladle
- Tongs
- Splatter screen (if you use one)
Rule: If you use it while standing at the stove, it lives near the stove.
Drawer Zone C: “Wrap + Storage Drawer”
This is the drawer that prevents chaos:
- Foil, plastic wrap, parchment paper
- Zip bags
- Clips, rubber bands
- Labels/marker (if you meal prep)
Pro tip: Store wraps in a bin so they don’t roll around and explode your drawer.
Drawer Zone D: “Junk Drawer” (Yes, you get one)
Small kitchens still need a junk drawer. The trick is to cap it:
- Lighter/matches
- Batteries
- Tape
- Takeout menus
- Random small tools
If it starts overflowing, it’s not a drawer problem—it’s a decision problem.
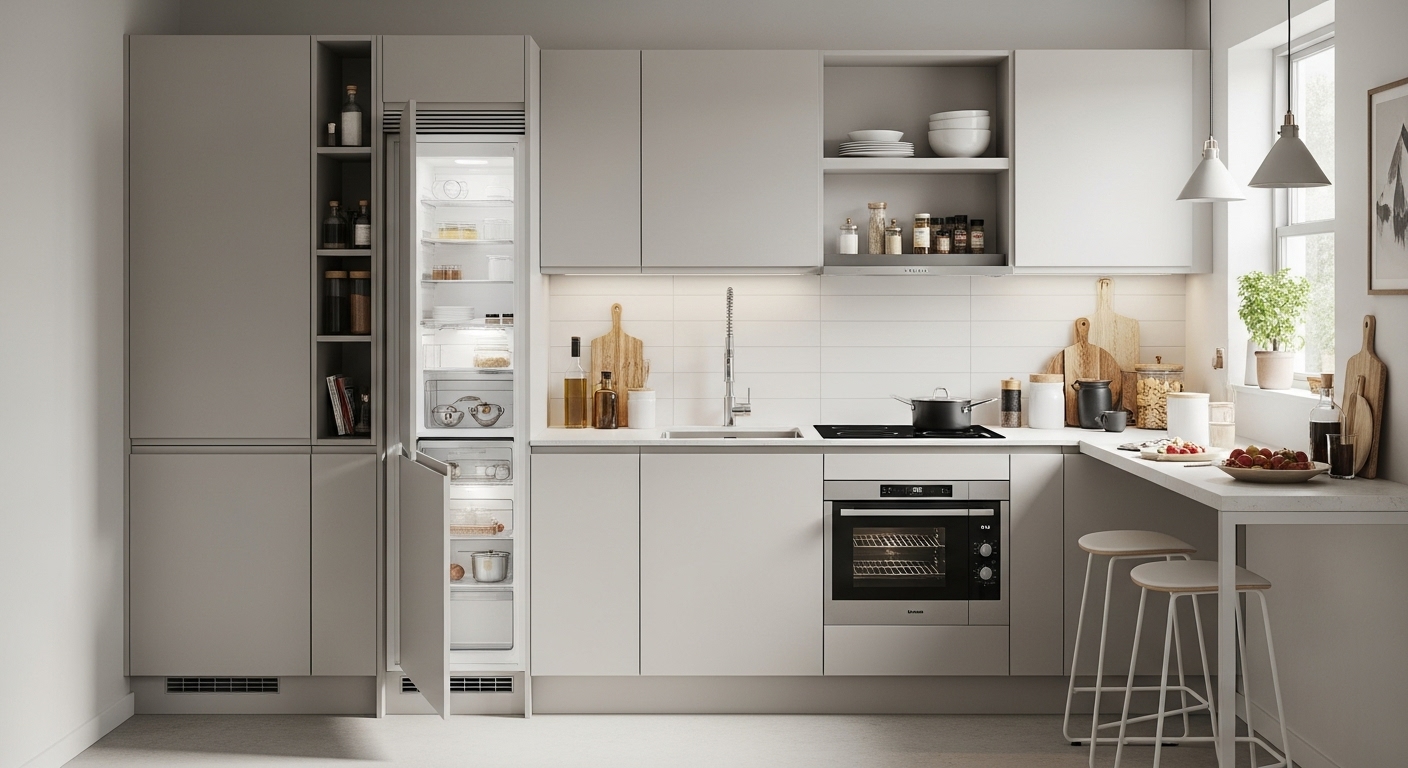
Cabinet Layout Rules (That Actually Prevent Clutter)
Rule 1: Put heavy items between waist and chest height
- Plates, bowls, everyday pots
This keeps your kitchen safer and easier.
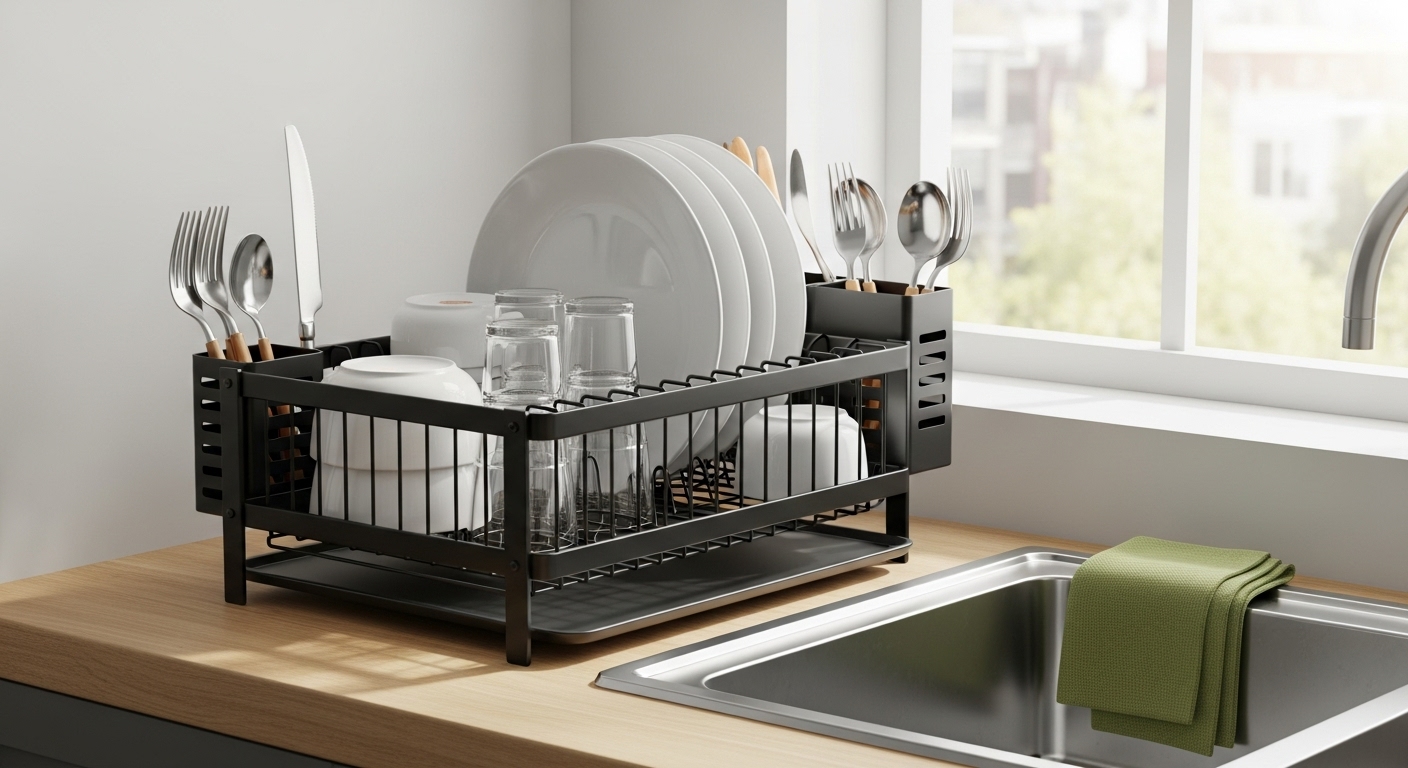
Rule 2: Store plates and bowls near the dishwasher/sink
The faster you can unload, the cleaner the kitchen stays.
Rule 3: One cabinet = one “job”
Examples:
- Breakfast cabinet (mugs, coffee, sweeteners)
- Baking cabinet (flour, sugar, mixing bowls, sheet pans)
- Dinnerware cabinet (plates, bowls, glasses)
- Pantry cabinet (dry goods)
If one cabinet tries to do 3 jobs, it becomes a mess.
The Best Small-Kitchen Cabinet Map (Copy This)
1) “Everyday Dish” Cabinet
- Plates and bowls you use daily
- One shelf for glasses/mugs (or keep mugs near coffee zone)
Make it easier: Use shelf risers so plates and bowls don’t stack like a tower.
2) “Cooking Cabinet” Near Stove
- Pots, pans, lids
- Oil, salt, pepper, favorite spices
- Sheet pan if you use it often
Huge win: Store lids vertically (file organizer or rack) so you don’t play lid Jenga.
3) “Prep Cabinet” Near Main Counter
- Mixing bowls
- Colander
- Measuring items you didn’t fit in drawers
- Blender/processor only if you use it weekly
Reality check: If you use the blender twice a year, it belongs higher up or in another room.
4) “Pantry Cabinet”
Group food by use, not “type”:
- Breakfast shelf (oats, cereal, coffee)
- Cooking shelf (rice, pasta, canned goods)
- Snacks shelf
- Baking shelf
Make it work: Put the most used foods at eye level.
The “One-Minute Cooking Flow” Test
Stand where you prep. Imagine making a simple dinner:
- Pull cutting board + knife
- Grab pan + spatula
- Grab oil + salt
- Plate food
- Store leftovers
If your setup makes you walk across the kitchen for each step, your zones are off.
Best Space-Saving Tricks (No Renovation Needed)
1) Use a “vertical divider” cabinet for:
- Cutting boards
- Baking sheets
- Pan lids
This is the fastest way to make a small kitchen feel organized.
2) Put a small bin under the sink for backups
One for:
- dish soap refills
- sponges
- trash bags
Not ten extras. Just backups.
3) Door-mounted storage (only for light items)
- wraps
- small spice rack
- cleaning cloths
Avoid heavy items that can pull the door.
4) Store by “frequency”
Top shelf = rarely used
Eye level = weekly
Bottom/prime = daily
Common Mistakes to Avoid
- Keeping appliances on the counter “just in case”
- Mixing utensils across multiple drawers
- Storing food where you prep (crumbs + clutter)
- Overbuying containers and losing lids (choose one system)
My “Optimal Small Kitchen Setup” (If You Only Do 3 Changes)
- Create Prep Drawer + Cooking Drawer zones
- Make a vertical lid/baking sheet slot
- Put daily dishes at easy reach and move rarely-used stuff up
Those three changes usually cut kitchen frustration in half.